This document lists the steps to follow to register an identity with Internet2 Identity Services.
Starting Registration
Visit any participating service and log in or click the link below to automatically begin registration.
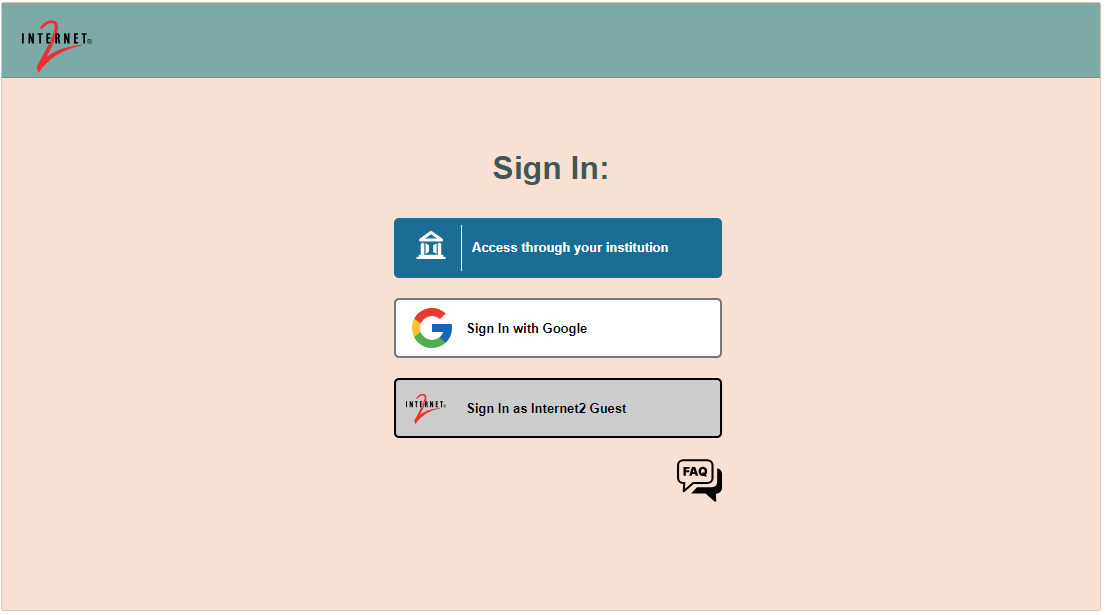
Select your Identity Provider
Select your Identity Provider.
- You can choose from known institutions in the "Access through your institution" button. This will redirect you to your home IdP for authentication.
- Note: The list of institutions is provided by the SeamlessAccess service and includes all known institutions that support federation.
Institutions that are only in the OpenAthens federation are currently in the list, but are not supported by Internet2.
- Note: The list of institutions is provided by the SeamlessAccess service and includes all known institutions that support federation.
- You can choose to sign in with a Google Account.
- You can choose to sign in as an Internet2 Guest (if creating a new guest account, just restart the registration using the 'Internet2 Guest' Option after creating your guest account).
Internet2 Guest Accounts Redirected to Cirrus
After clicking 'Sign In as Internet2 Guest', you will be redirected to Cirrus which will complete the rest of your registration.
Follow the instructions on the Internet2 Guest Guide.
You do not need to follow any of the remaining steps below.
--- Internet2 Guests STOP HERE ---
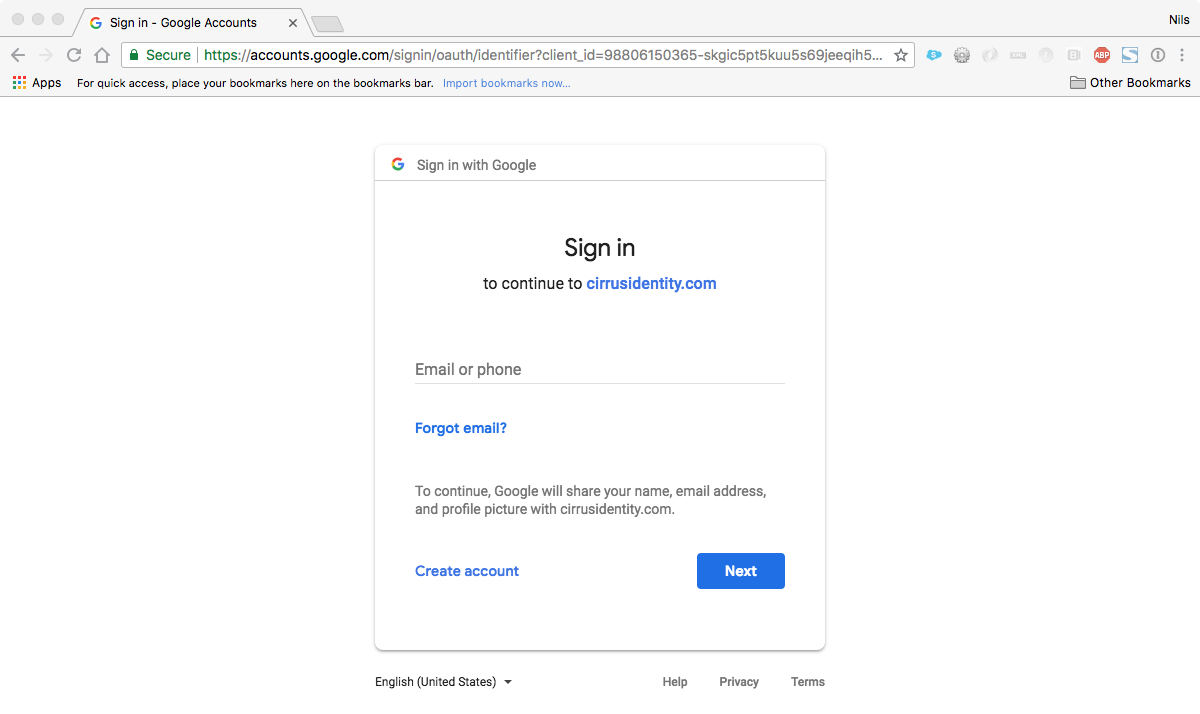
Login with your Identity Provider
Log in using the credentials you use with your home IdP.
(The image below is an example of using Google as your home IdP, your image will be specific to your own IdP)
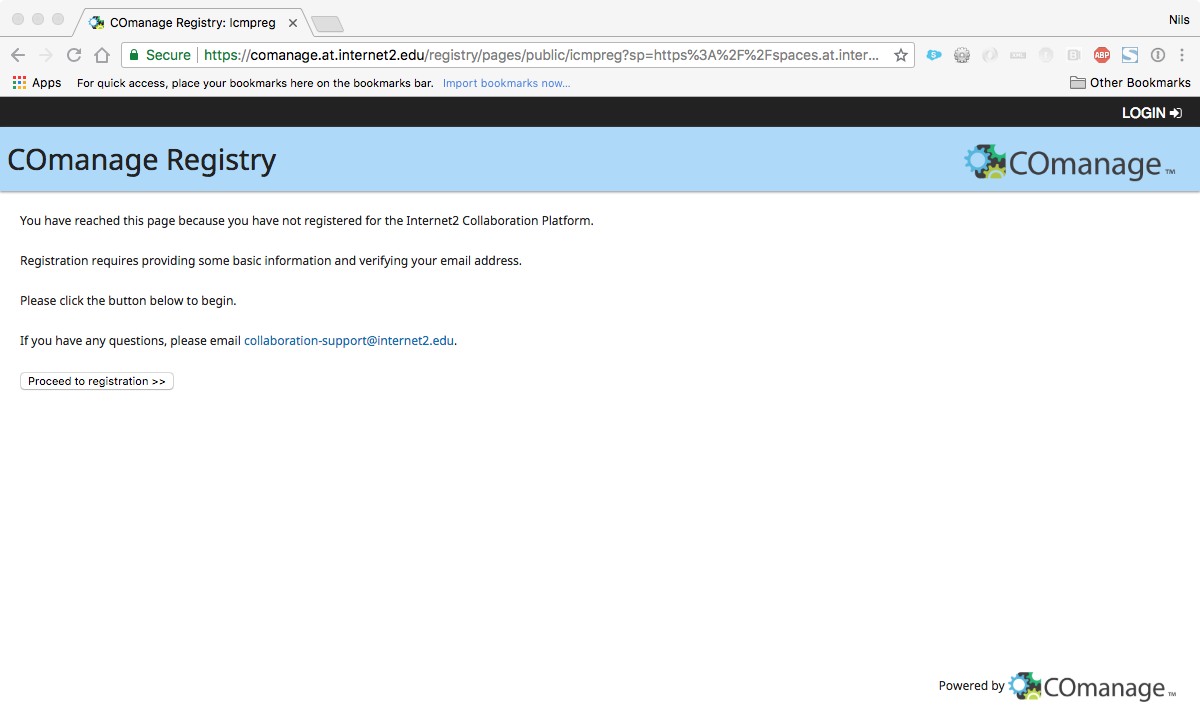
Proceed to registration (If it appears)
Once authenticated, Identity Services will determine if you are an existing user in the COmanage registry.
(Note: If you receive an error with a yellow banner at the top "Your last login as...", then you have already registered.)
If prompted, click the "Proceed to Registration" button.
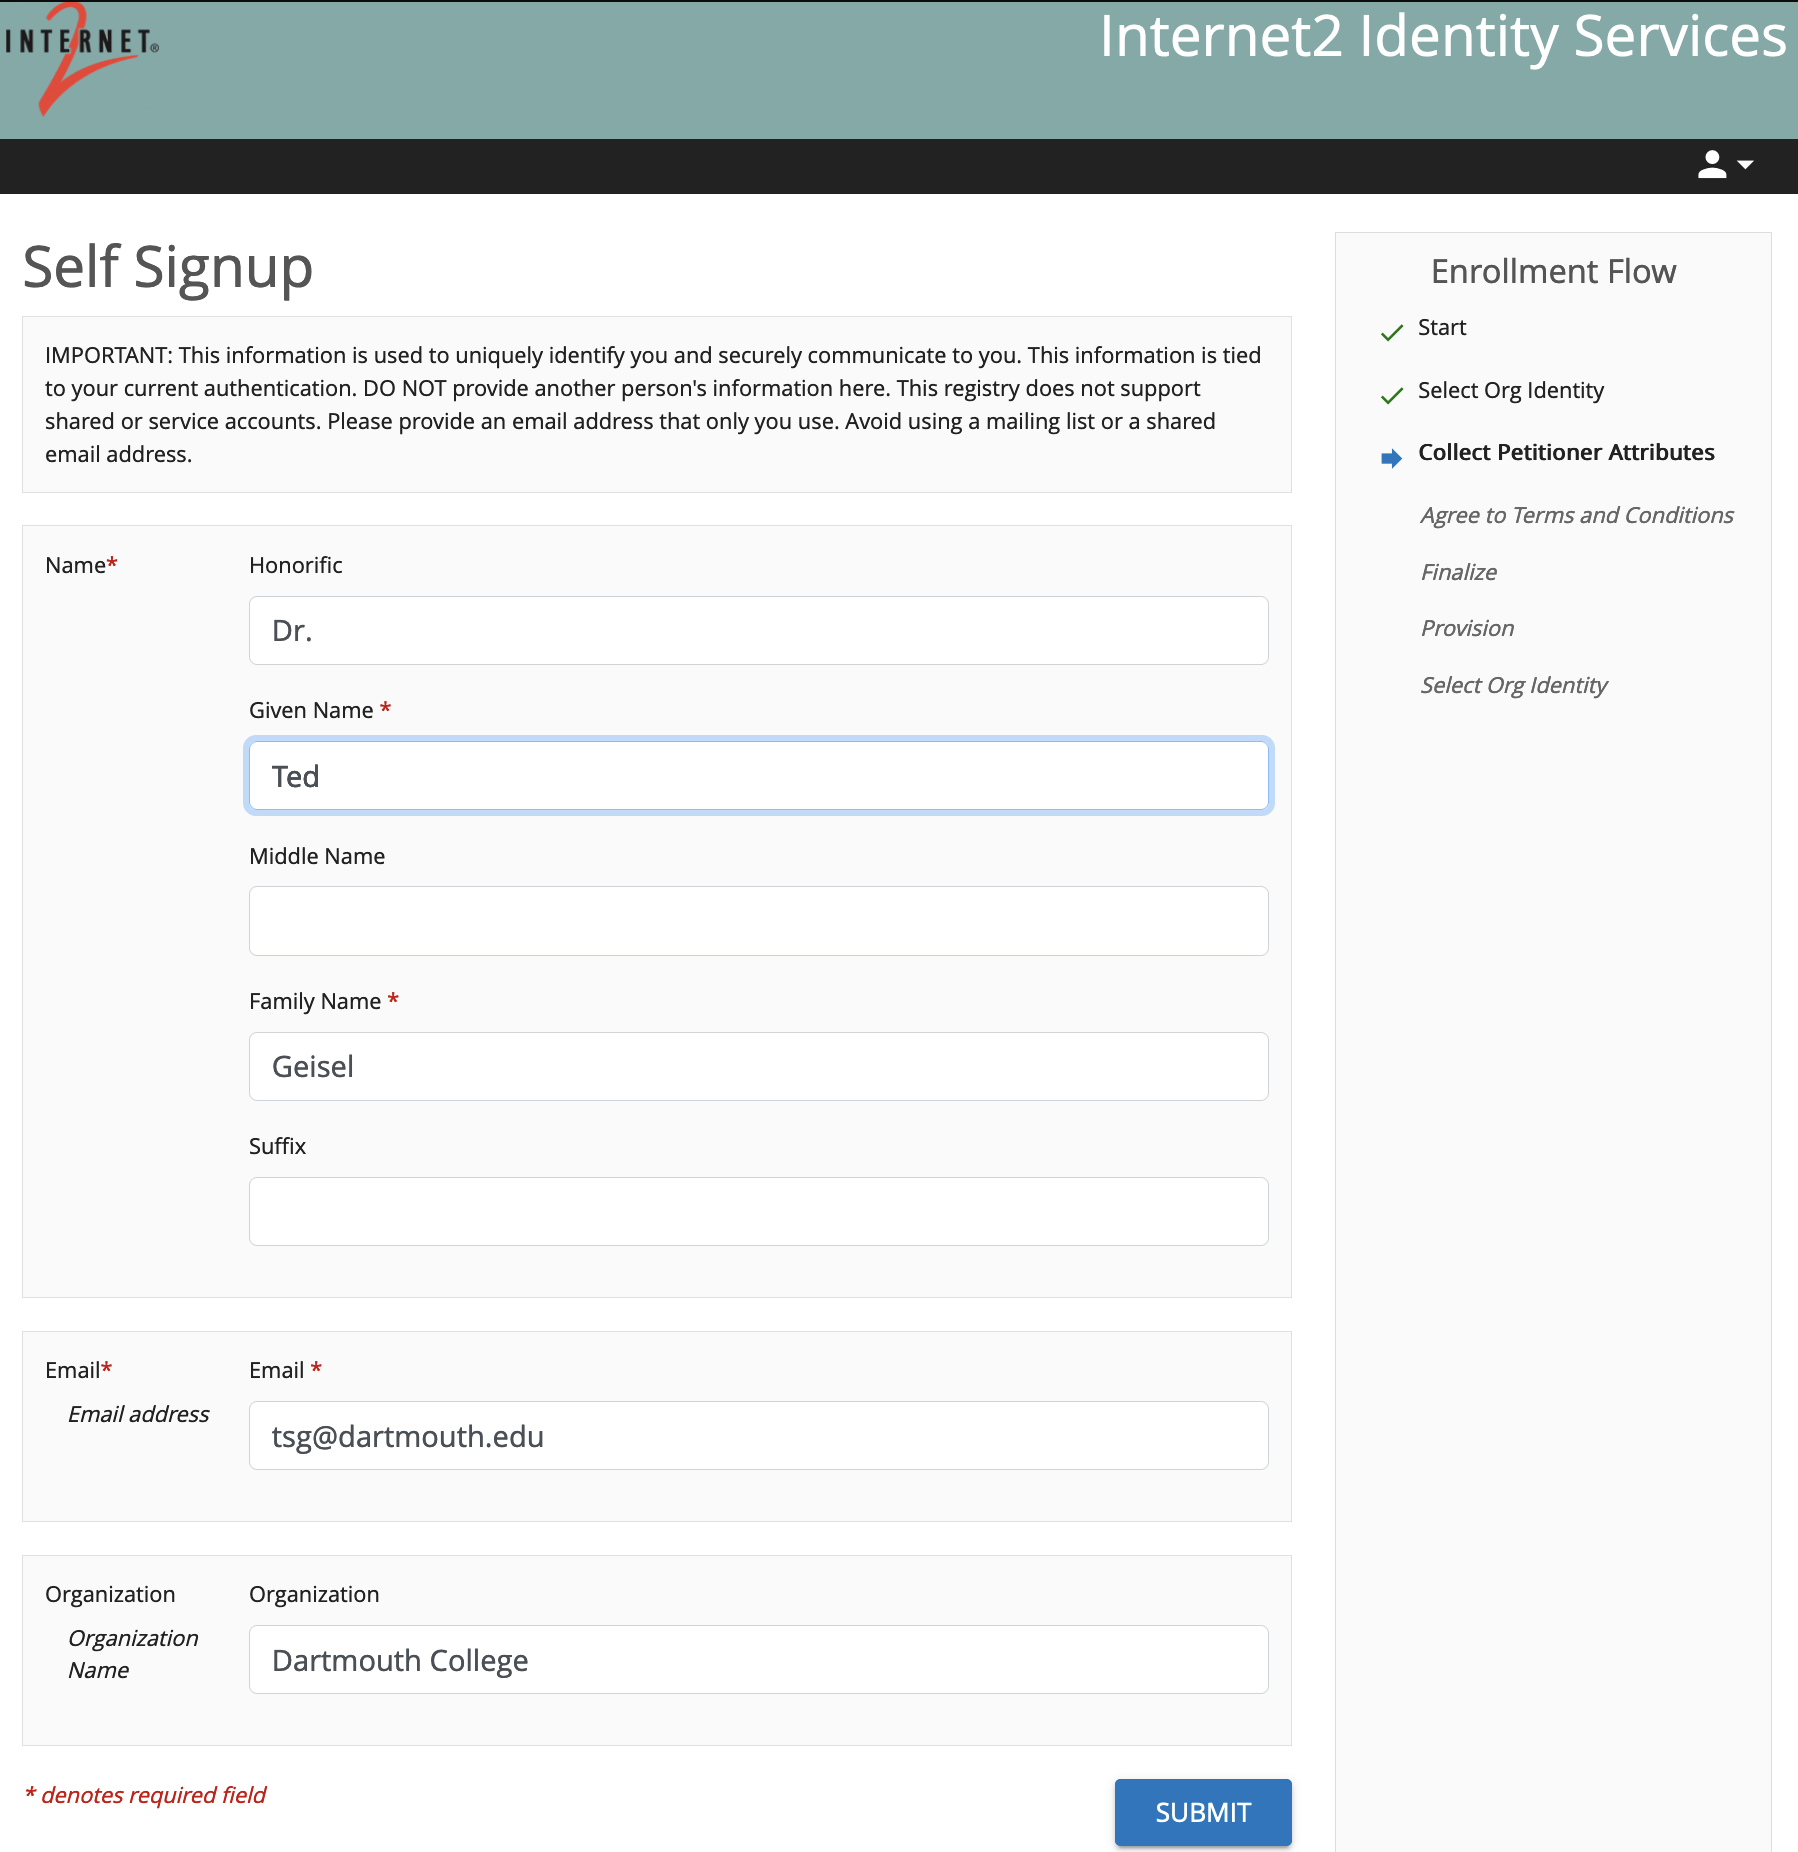
Add some details about yourself
You will be prompted to enter some information about yourself. Given name and family name are required.
Please consider adding as much information as you can. This will help us identify you better (to ensure you have a verifiable identity).
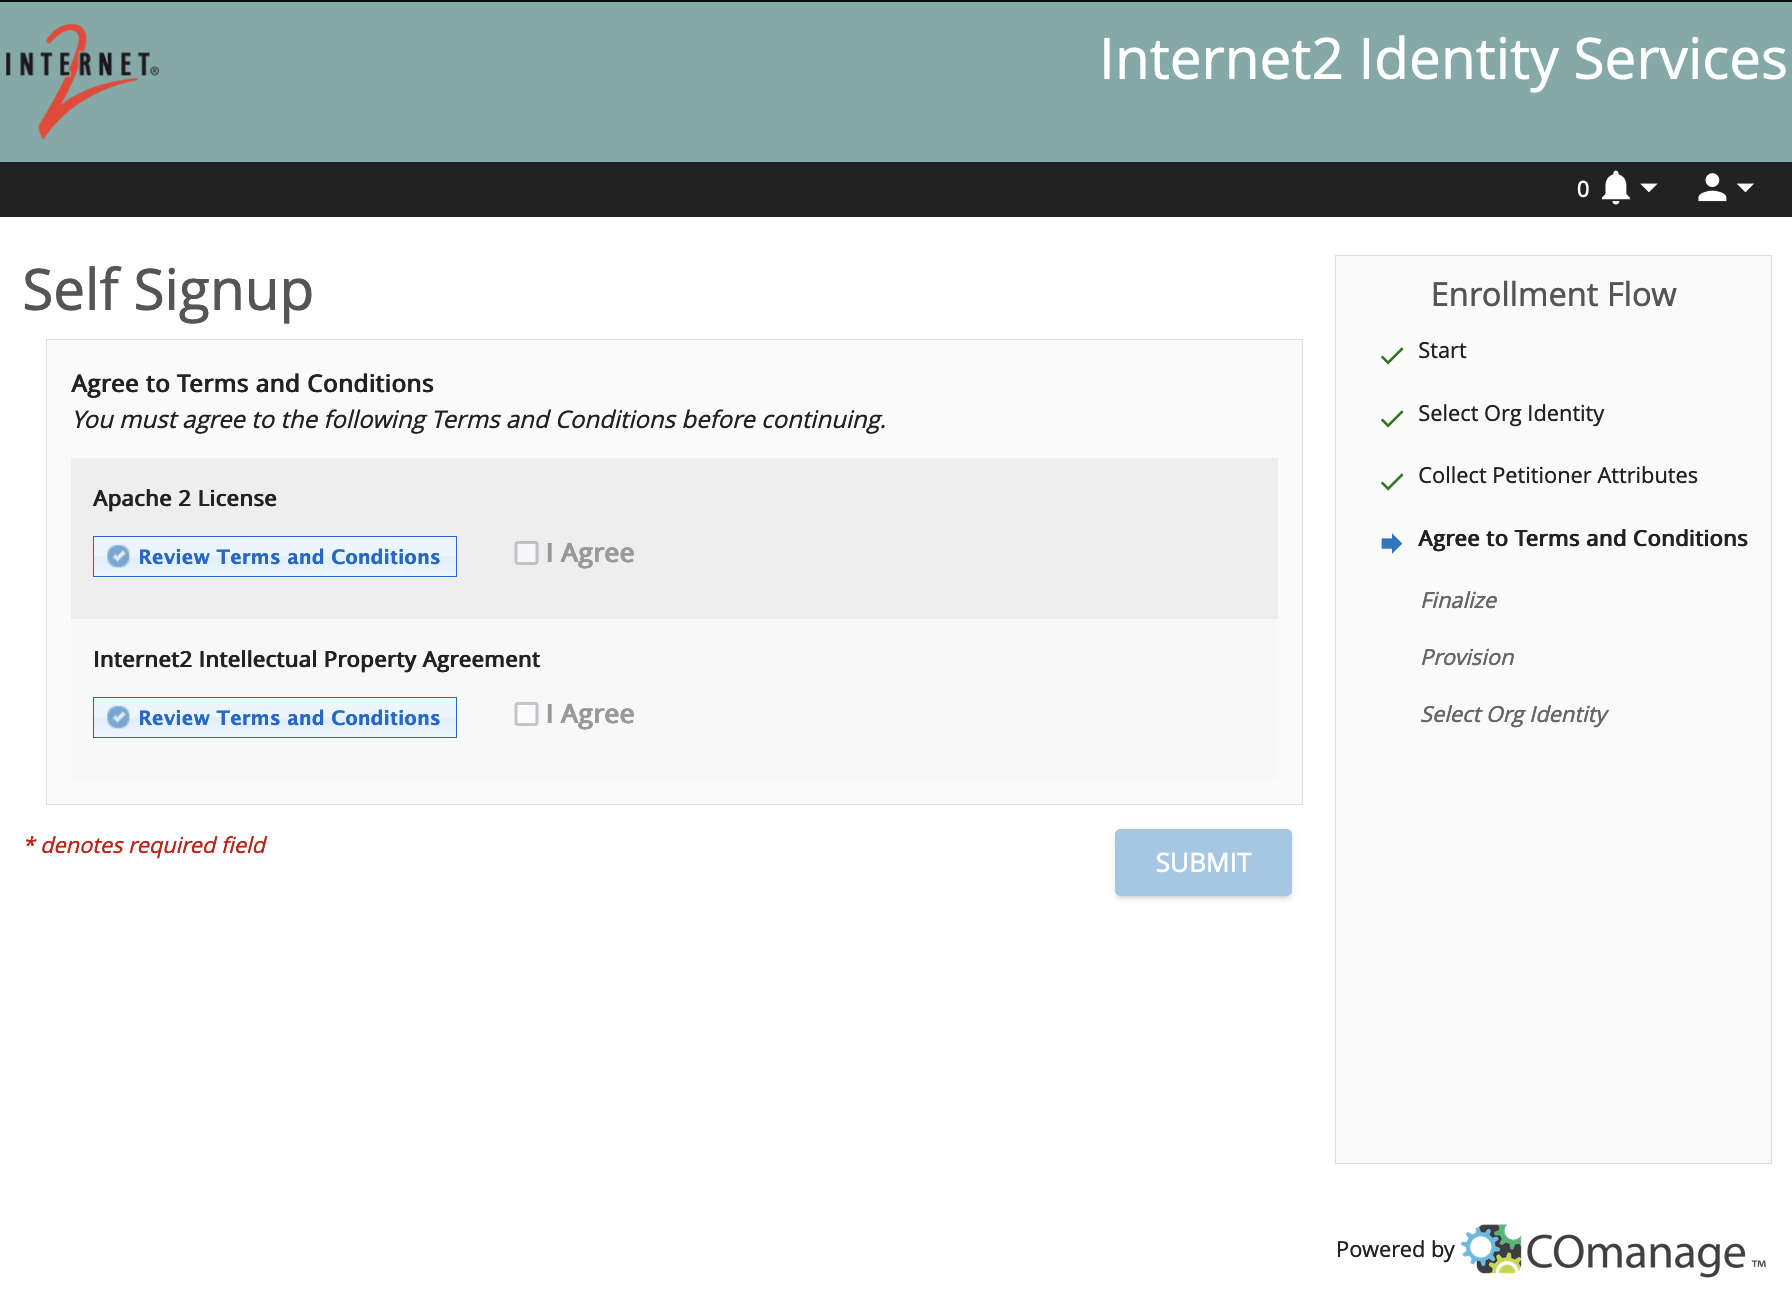
Agree to terms and conditions
You must click the 'Review Terms and Conditions' on both entries before you can check the 'I Agree' boxes.
Email Verification
You will be prompted to enter a verification code from an email that is sent to the address you provided.
Subject: "Internet2 Registration Verification"
Note: If you don't see an email, check your Spam folder.

Success!
You are now registered with Internet2 Identity Services.