Log into the Federation Manager as a Site Administrator(SA).
From the site home page (SA Dashboard), scroll down to find the "Add New Identity Provider button; click it to open the "Add a New Identity Provider" page.
![]()
"Add a New Identity Provider" is a step-by-step, multi-section form designed to guide you through the steps of registering a new identity provider in InCommon. The steps are listed on the left of the form.
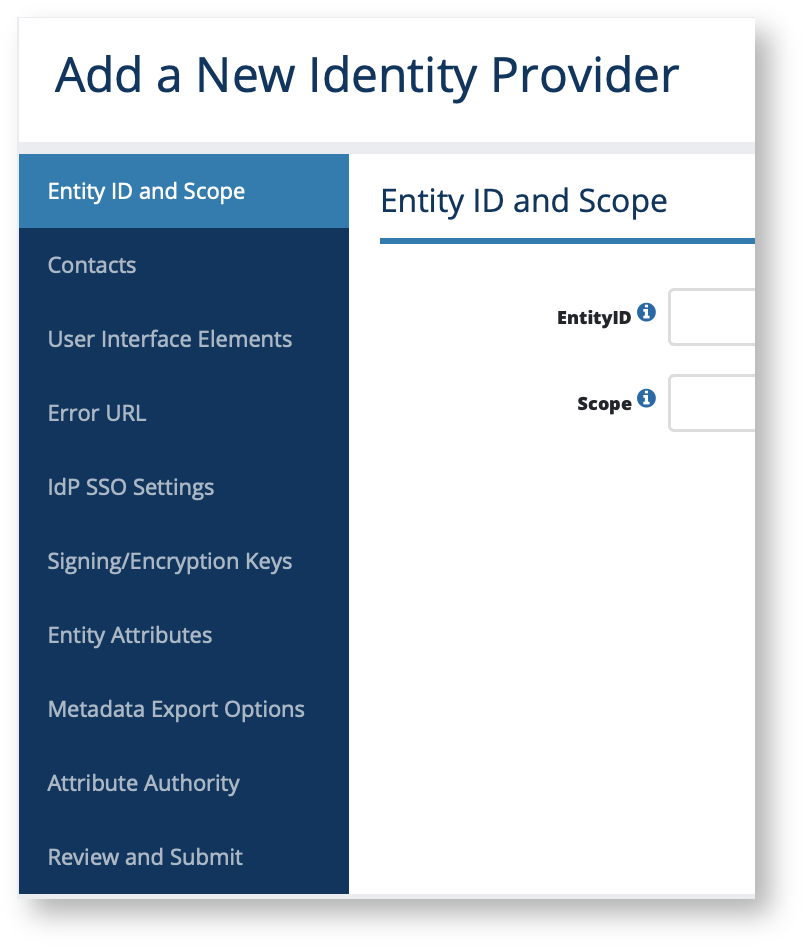
The first step, "Entity and Scope", prompts you to enter the Entity ID and the Scope of your identity provider (IdP).
If this is your first time registering an IdP in InCommon, read these instructions first:
Choosing the right entity ID and setting scope are critical to a successful IdP deployment in InCommon. Since you will not be able to easily change these 2 elements once you enter them, take some time to plan before you proceed.
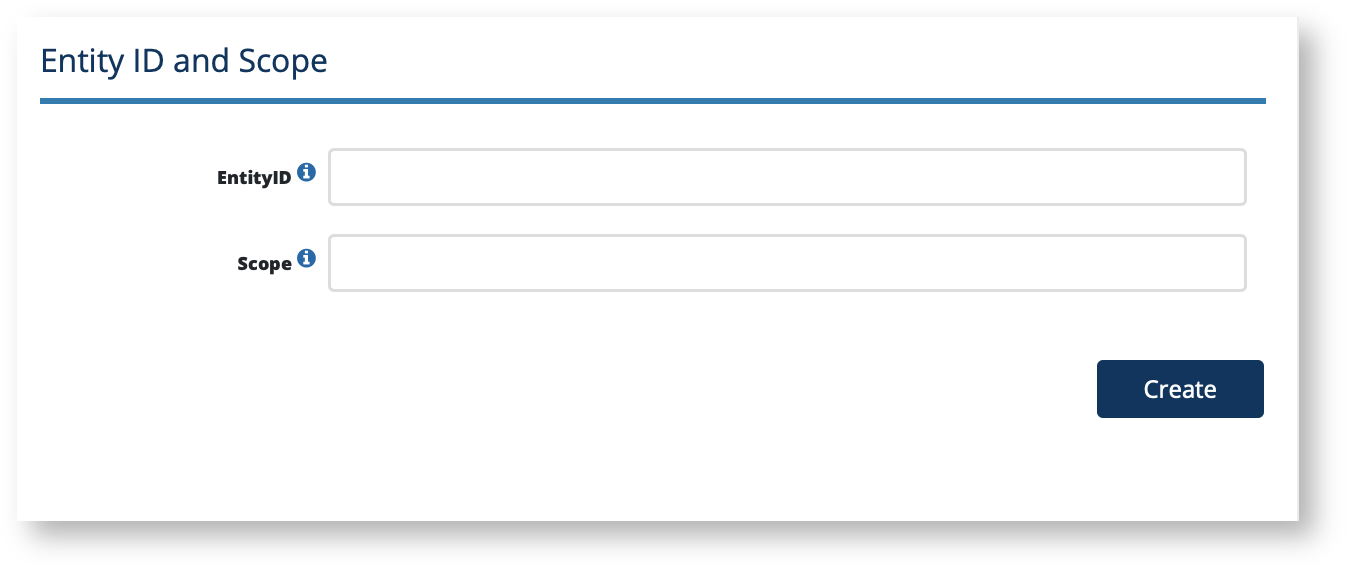
Once you have entered the entity ID and Scope, click "Create" to continue entering information for your IdP.
Next: Entering Contacts.
Navigating between different tabs for your IdP Metadata record
Use the left navigation or the Previous/Next buttons at the bottom of the page to move between the sections. An asterisk next to the name(s) will let you know if you have unfinished work in a particular section. Your work will be saved as you navigate between sections. You may exit the application and return to work on it at a future date.
Remember to navigate to "Review and Submit" to submit your entity for publication. Your changes won't be published to the InCommon metadata until you submit it for publication.
Editing SAML metadata elements
To learn more about each section in the Add a New Identity Provider form, click on each topic here:
- Contacts
- User interface elements
- Error URL
- IdP SSO Settings
- Signing/Encryption Keys
- Entity Attributes
- Metadata Export Options
- Review and Submit
Related content
Get help
Can't find what you are looking for?